Quickstart
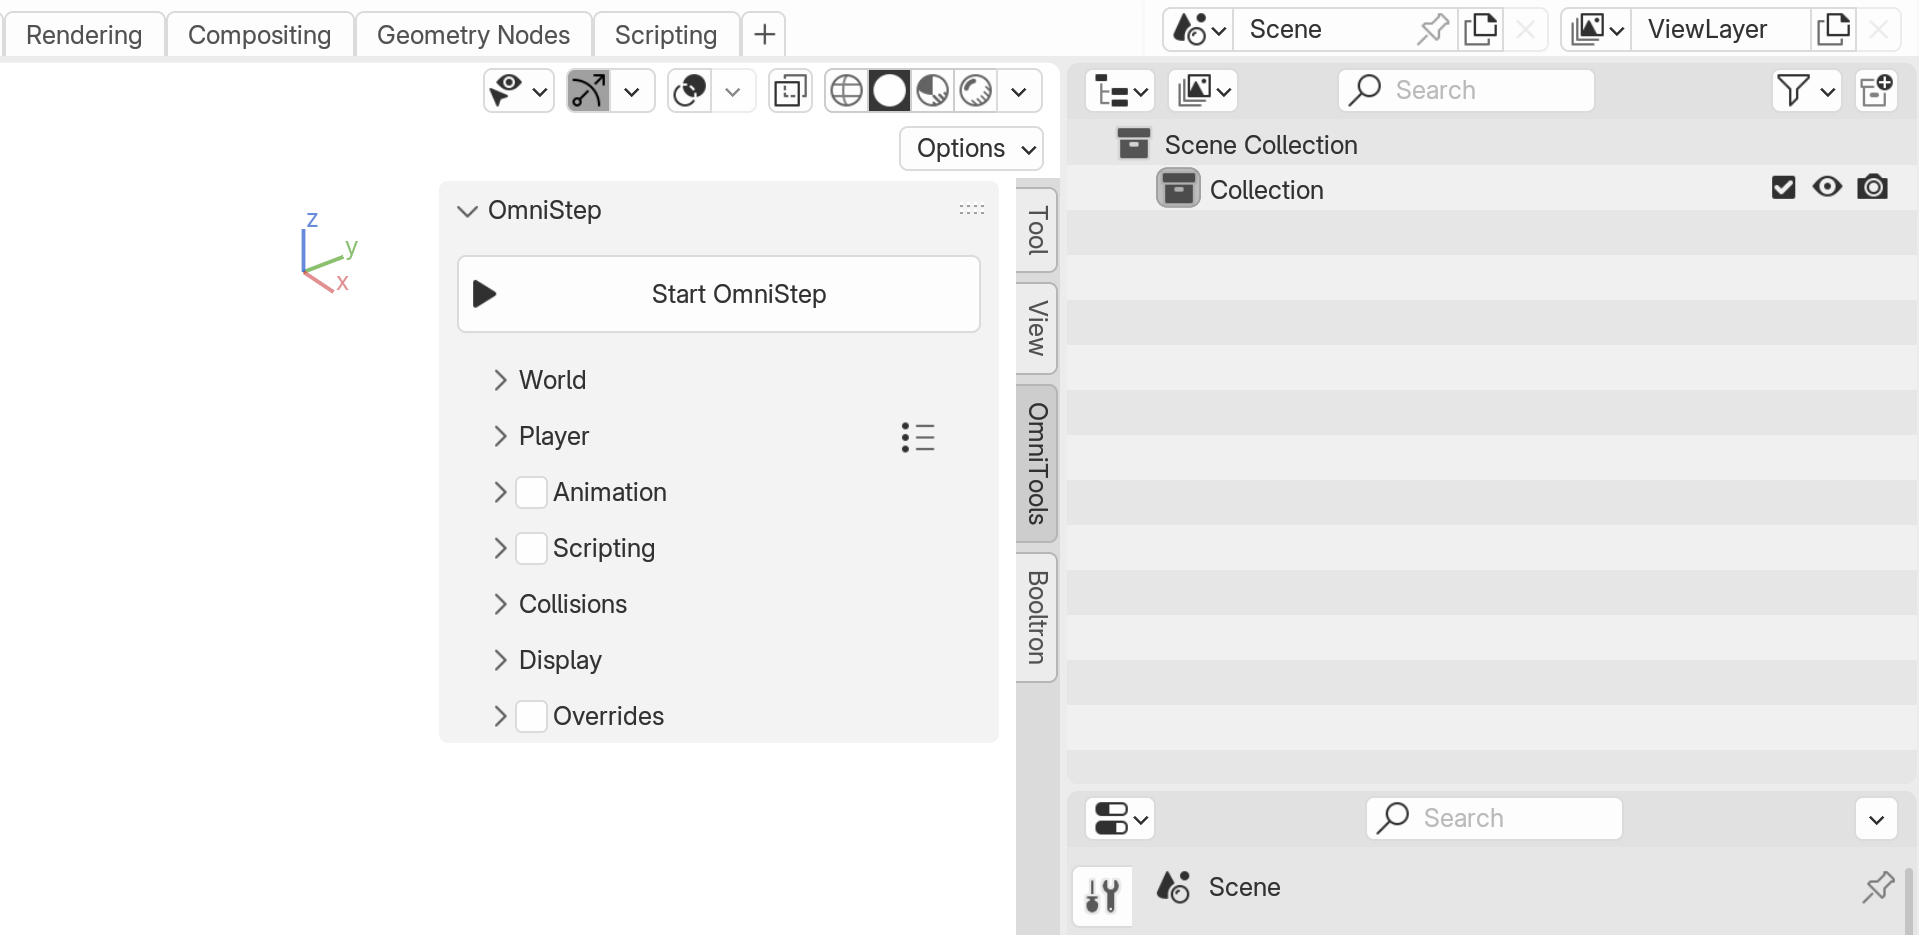
You can find OmniStep in the 3D Viewport Sidebar under 'OmniTools'.

To spawn directly into your scene from the current view, press ▶ Start OmniStep.
By default, OmniStep will use the current view or camera as the starting point. When done, press Enter to apply the changes to the current view or camera or Esc to revert the changes.
Controls
OmniStep supports the same input devices as Blender. This includes keyboards, mice, NDOF devices and additionally Gamepads.
By default, the player is controlled with the following keymap:
| Key(s) | Action / Description |
|---|---|
| W A S D | Moving / Flying |
| Q E | Fly Down / Up (Roll when in 'Trackball Rotation' mode) |
| Left Ctrl | Crouch (Down in 'Fly Mode') |
| Space | Jump (Up in 'Fly Mode') |
| Shift | Walk / Run Modifier |
| Tab | Toggle between Walk / Fly Modes |
| MouseWheel Up MouseWheel Down |
Increases / Decreases a global multiplier that controls movement and teleport speed |
| Middle Mouse | Resets the speed multiplier to the defaults |
| Z | Teleport to aimed-at target |
| R | Respawn |
| X | Restarts the timeline when animating (and restarts the recording if enabled) |
| Left Mouse | Action1 - is monitored by OmniStep and reserved for user scripts |
| Left Alt + Left Mouse | Action2 - is monitored by OmniStep and reserved for user scripts |
| 3 4 | Action3, Action4 - additional keys monitored by OmniStep for use in UserScripts |
The look direction is controlled with the mouse. The sensitivity and y-axis invert can be set in the add-on preferences.
Customization
All keys, mouse and controller bindings can be remapped in the add-on preferences. Additionally, mouse settings can be overridden on a per-file basis in the viewport sidebar.
Gamepad Support
Gamepad support is disabled by default. Enable it in the add-on preferences to use a gamepad. Support is currently available only for Windows and XInput compatible devices (e.g., Xbox Controller and similar).
World

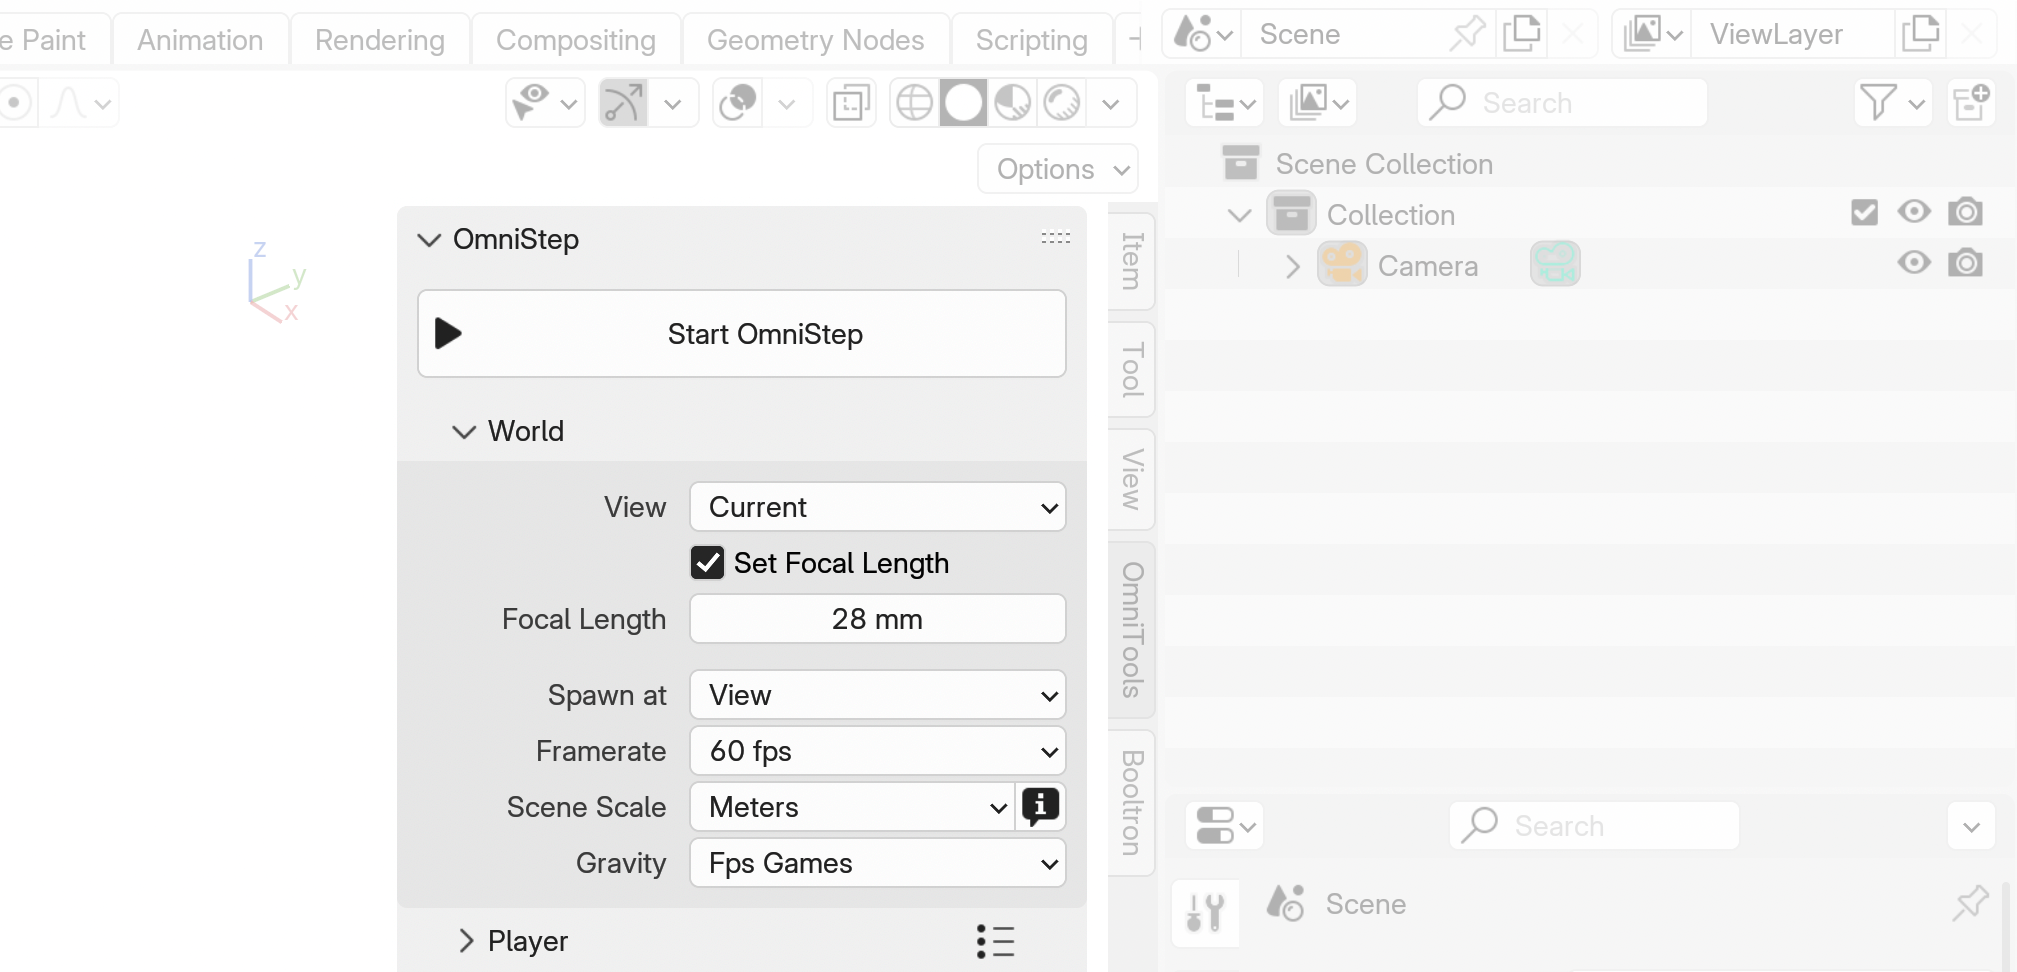
In the World section, you can configure essential scene parameters for OmniStep. You can set the startup view behavior and adjust the focal length for perspective views. OmniStep can also use specific spawn points from a collection of Empties. Additionally, you can control the target framerate, scene scale, and world gravity, ensuring accurate movement physics regardless of your scene's scale. Gravity presets are available, but you can customize the value.
Player

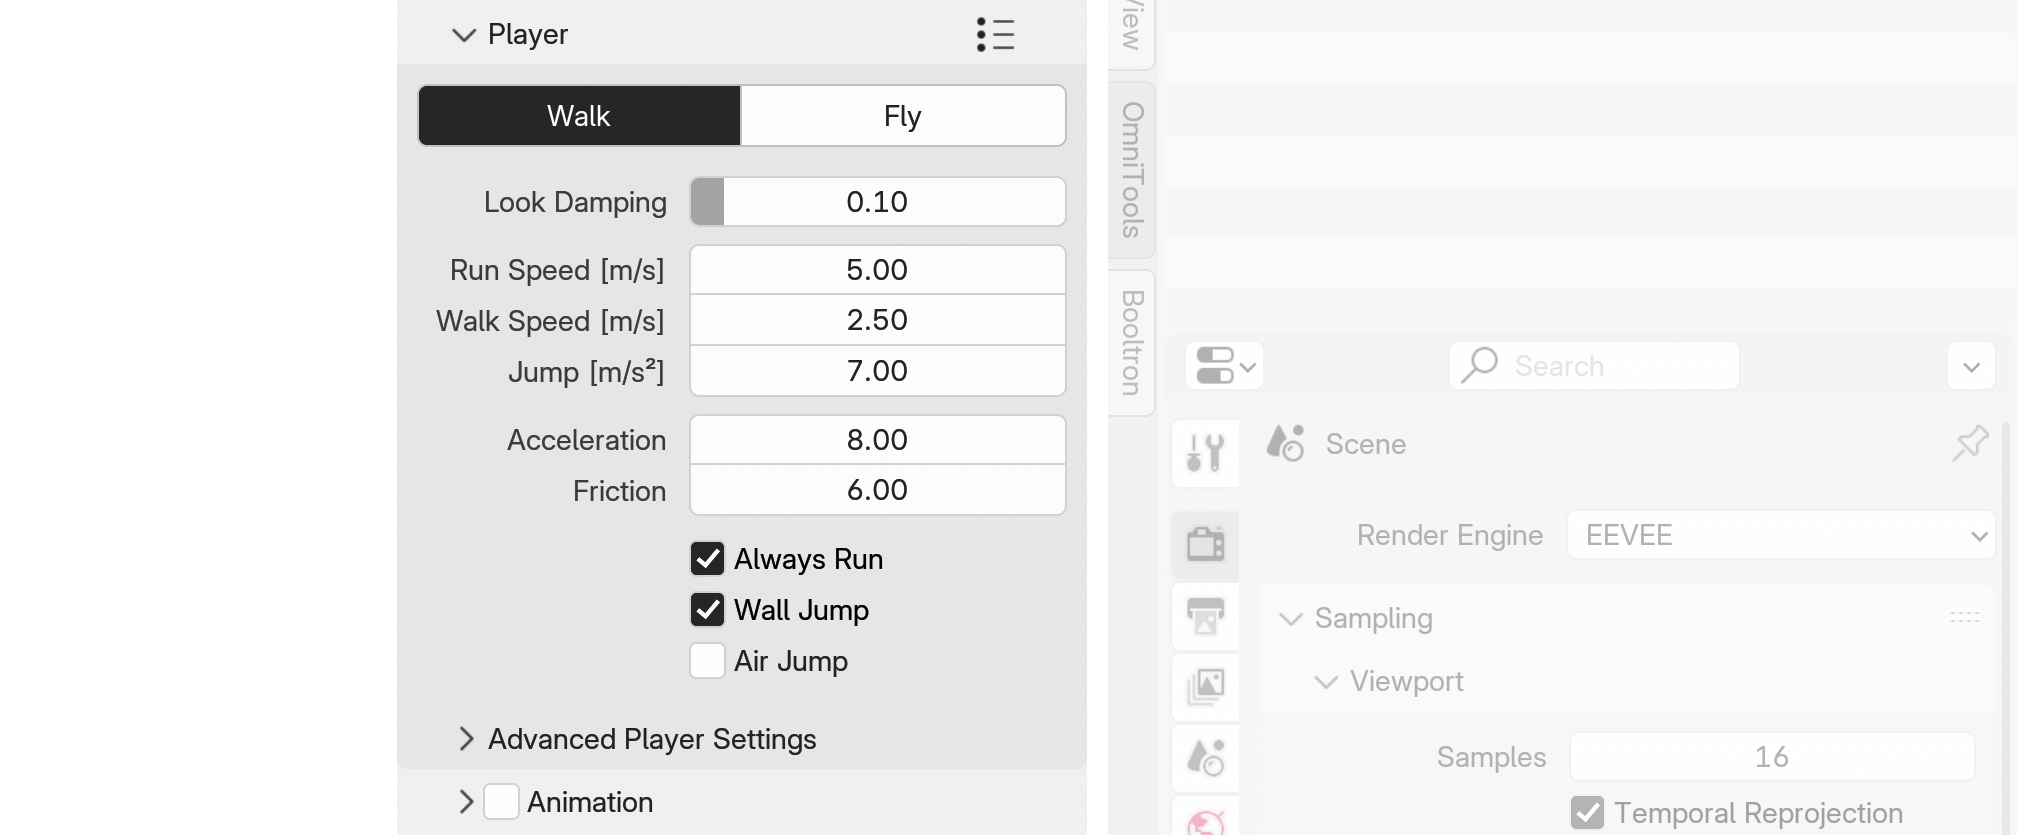
In the Player section, you can adjust OmniStep's Walk Mode with settings like run/walk speed, jump height, and ground friction. Fly Mode offers physics-based flight with adjustable speed, acceleration, and radial view control. Advanced settings allow for further customization, including fine-tuning motion damping and teleport speed. You can save your preferred configurations as custom presets for easy reuse.
Animation
OmniStep allows you to record all movement. Ensure a camera is present in the scene, and activate the 'Animation' section, as well as 'Record Animation'. This writes location and rotation keyframes for the active camera.
Make sure the view is set to the camera or the 'World Settings' view is set to 'Active Camera'.
When the playhead reaches the end, the recording stops, but you can continue moving. At this point you can press X to restart the recording, overwriting the last recording.
Press Esc or Enter to end the Operator. In both cases the recording is preserved.
There are several more options you can explore in the Animation Settings and see them applied here: Demo Scenes
Rotation Mode
Set the Camera Rotation Mode to Quaternion (WXYZ) to avoid issues with motion blur. Only use Euler if you specifically need it. In general, quaternions are more reliable than Euler angles.
Scripting
OmniStep supports custom scripts that run parallel to the game loop, enabling users to implement new functionality. A dedicated Scripting Section covers the scripting components: Scripting Section.